Processing and laying guidelines
You are currently viewing a placeholder content from YouTube. To access the actual content, click the button below. Please note that doing so will share data with third-party providers.
More Information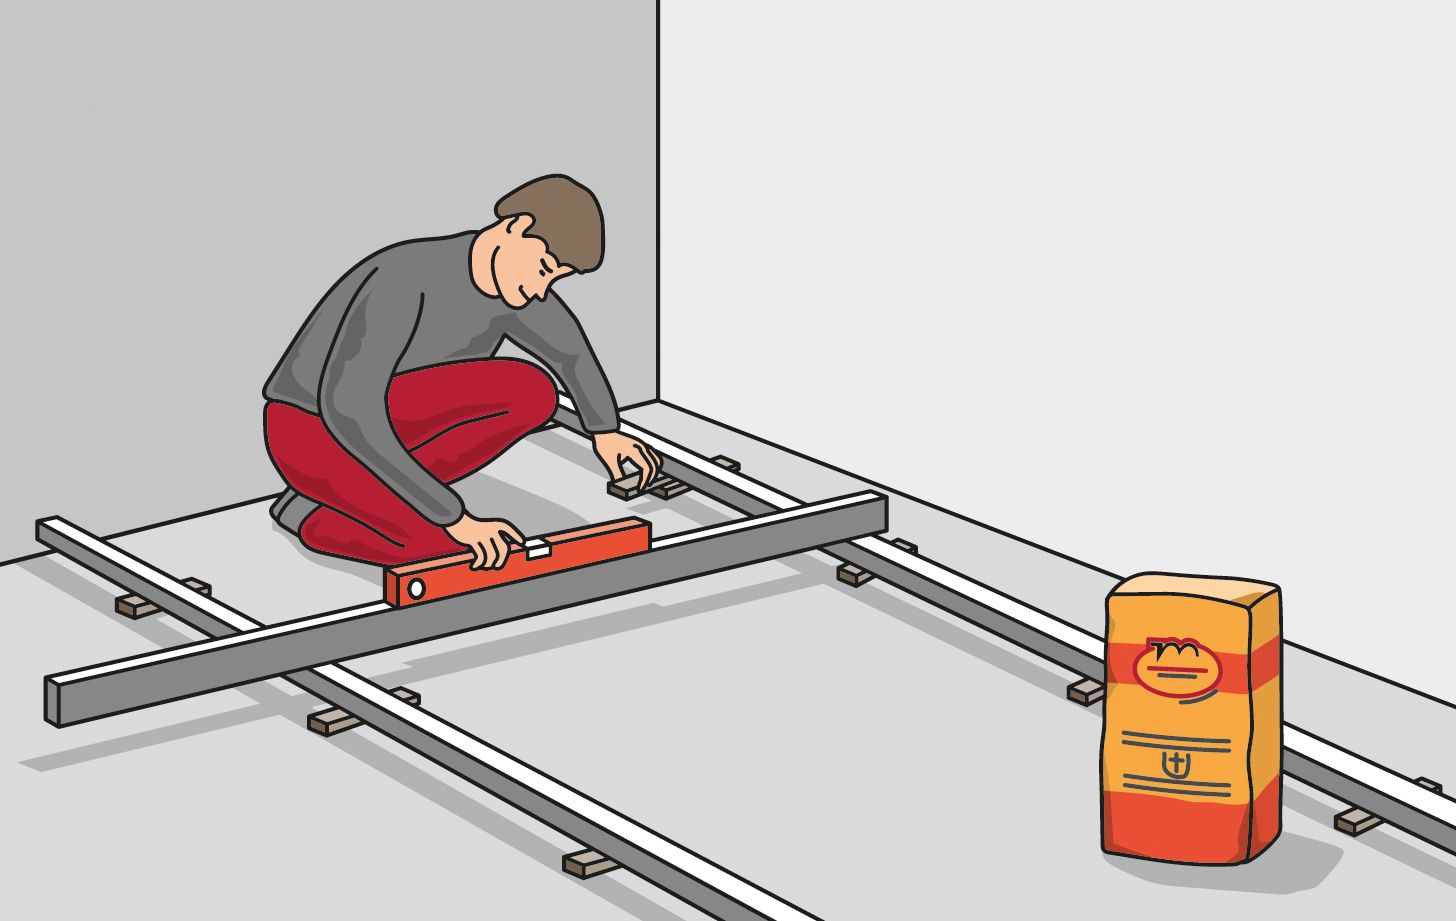
Step 1
Check the residual moisture and load-bearing capacity of the base
surface. Adequate moisture protection pursuant to DIN 18533 and DIN
18534 must be ensured. Align levelling rails (e. g. iron or aluminium) at
parallel distances on the cleaned suspended floor. Include an additional
height of roughly 10 – 12 % in your calculations.
Step 2
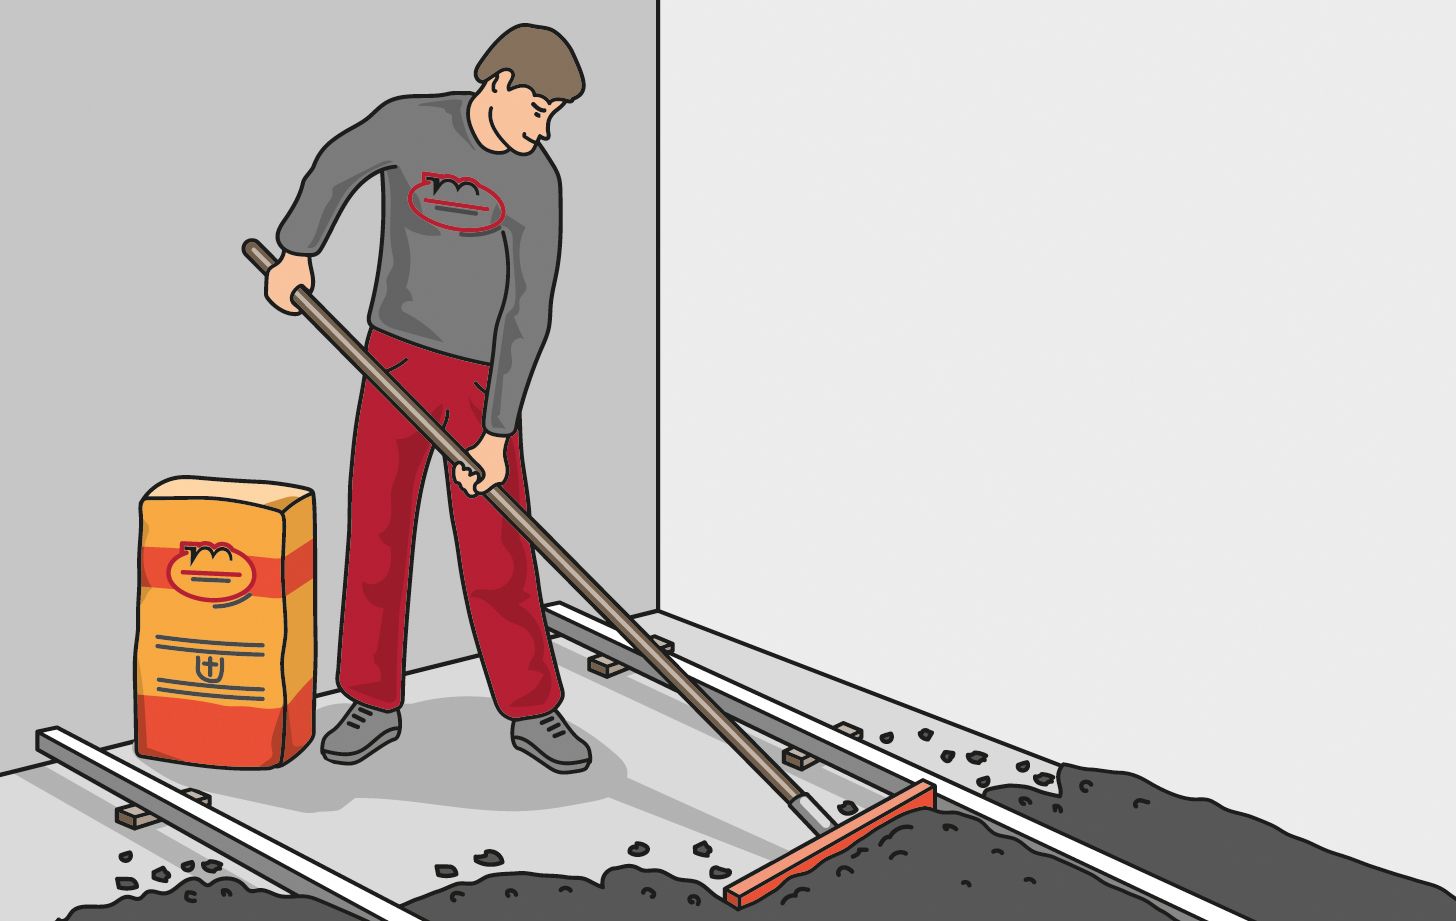
Spread the MEHA fills using a rake. It is possible that some of the
MEHABIT has hardened slightly in the transport bags; however, you can
easily crush these lumps.
Step 3
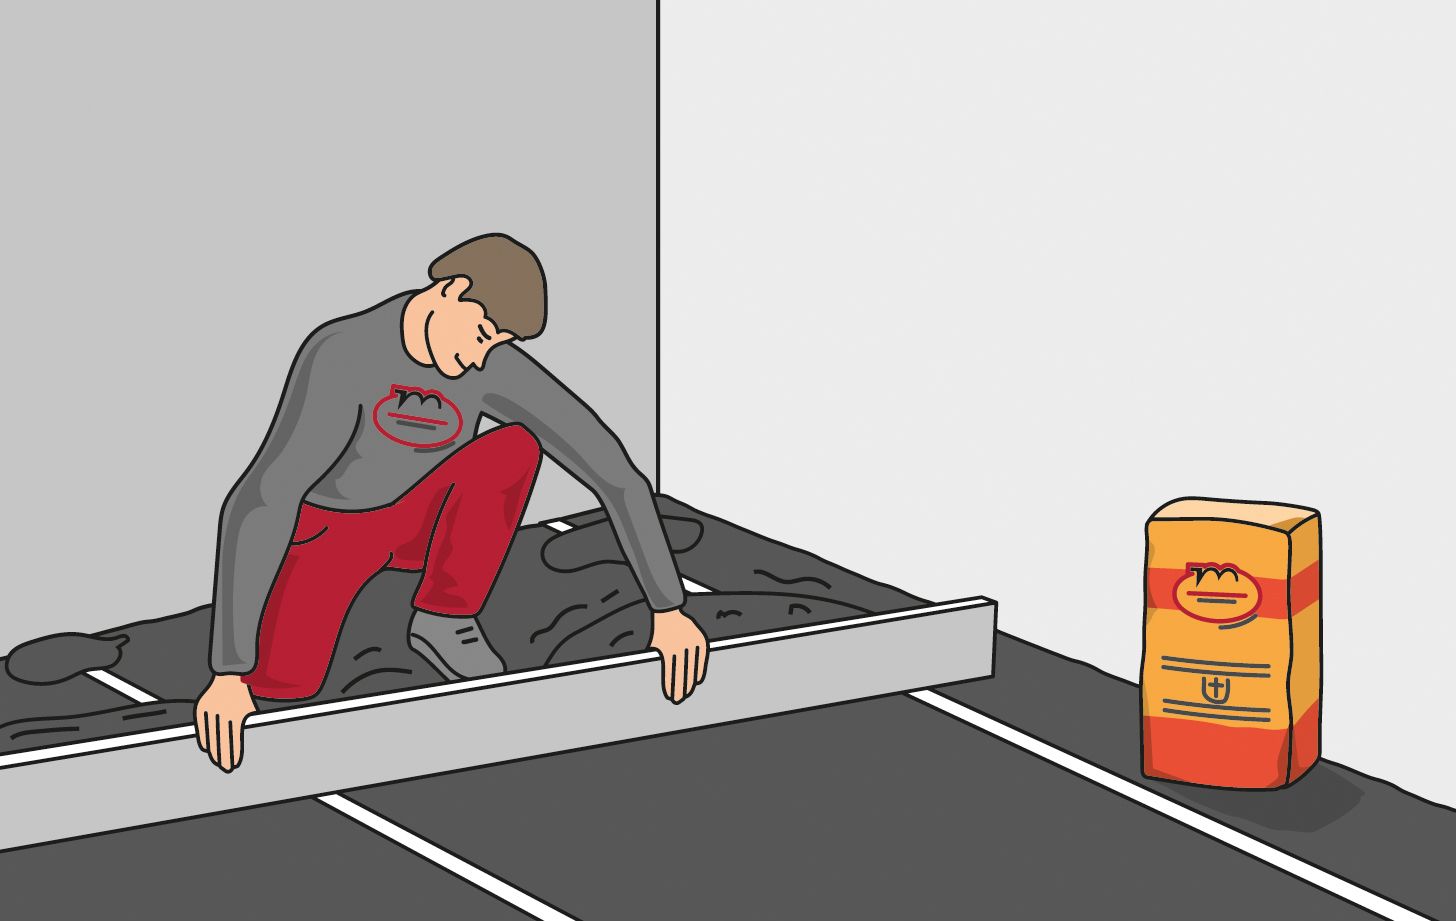
Using a straightedge, remove the fill above the levelling rails in the
lateral direction(!), pushing it back and forth. Then remove the levelling
rails and fill in the resulting grooves.
Step 4
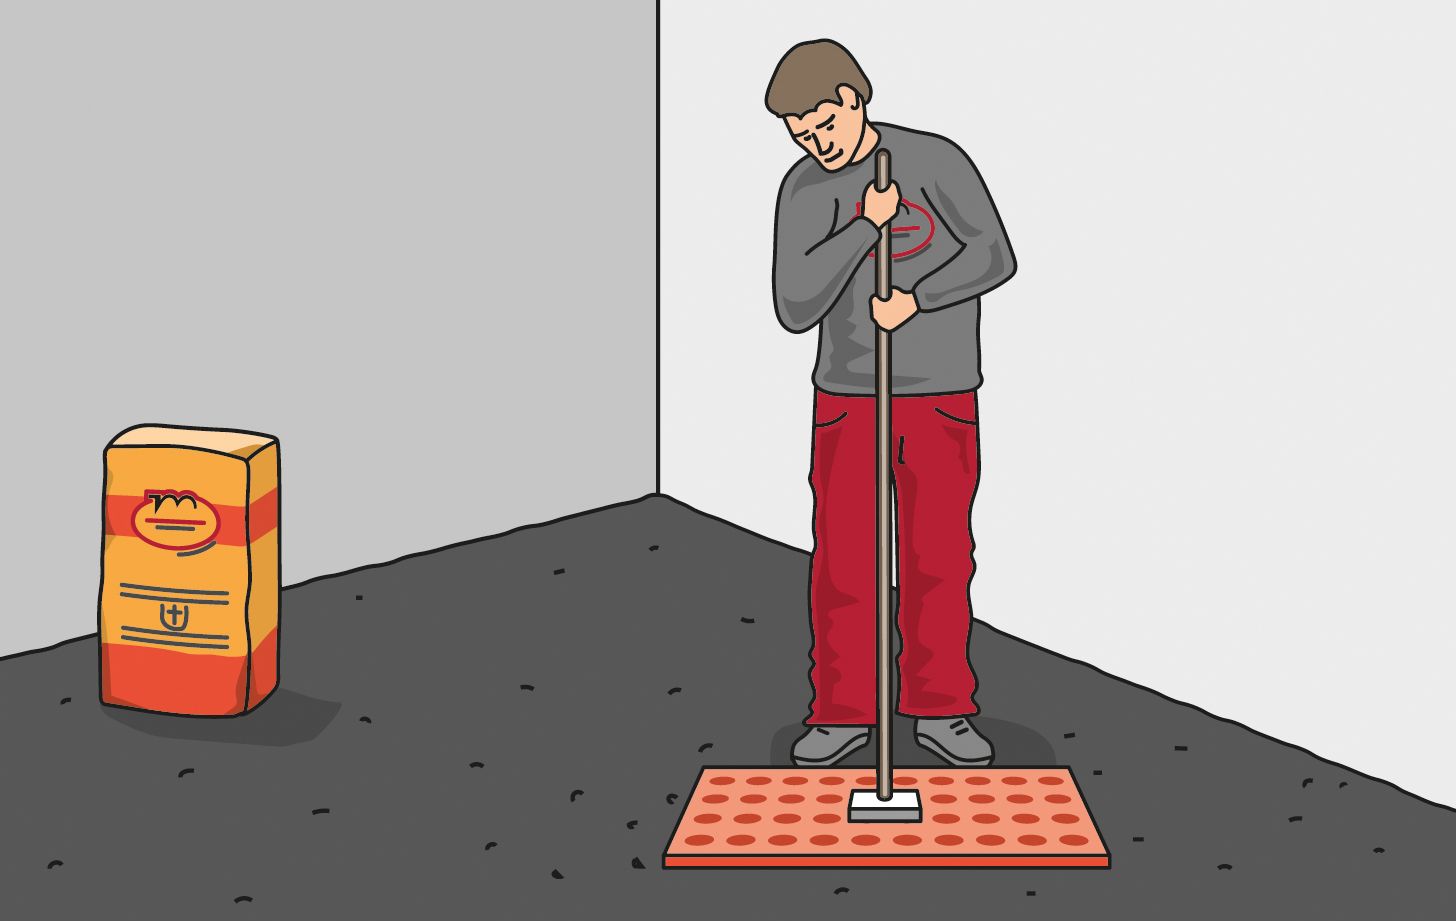
Compress and smooth the dry fill using a perforated wooden rammer.
This fulfils two functions: the granulate chips are aligned horizontally and
any air that remains in the insulating layer can escape. For fill heights of
up to 80 mm, a single compression process is sufficient (if greater levelling
heights are required, the fill is compressed once for approximately every
80 mm). You can now carefully walk on the compressed insulating layer.
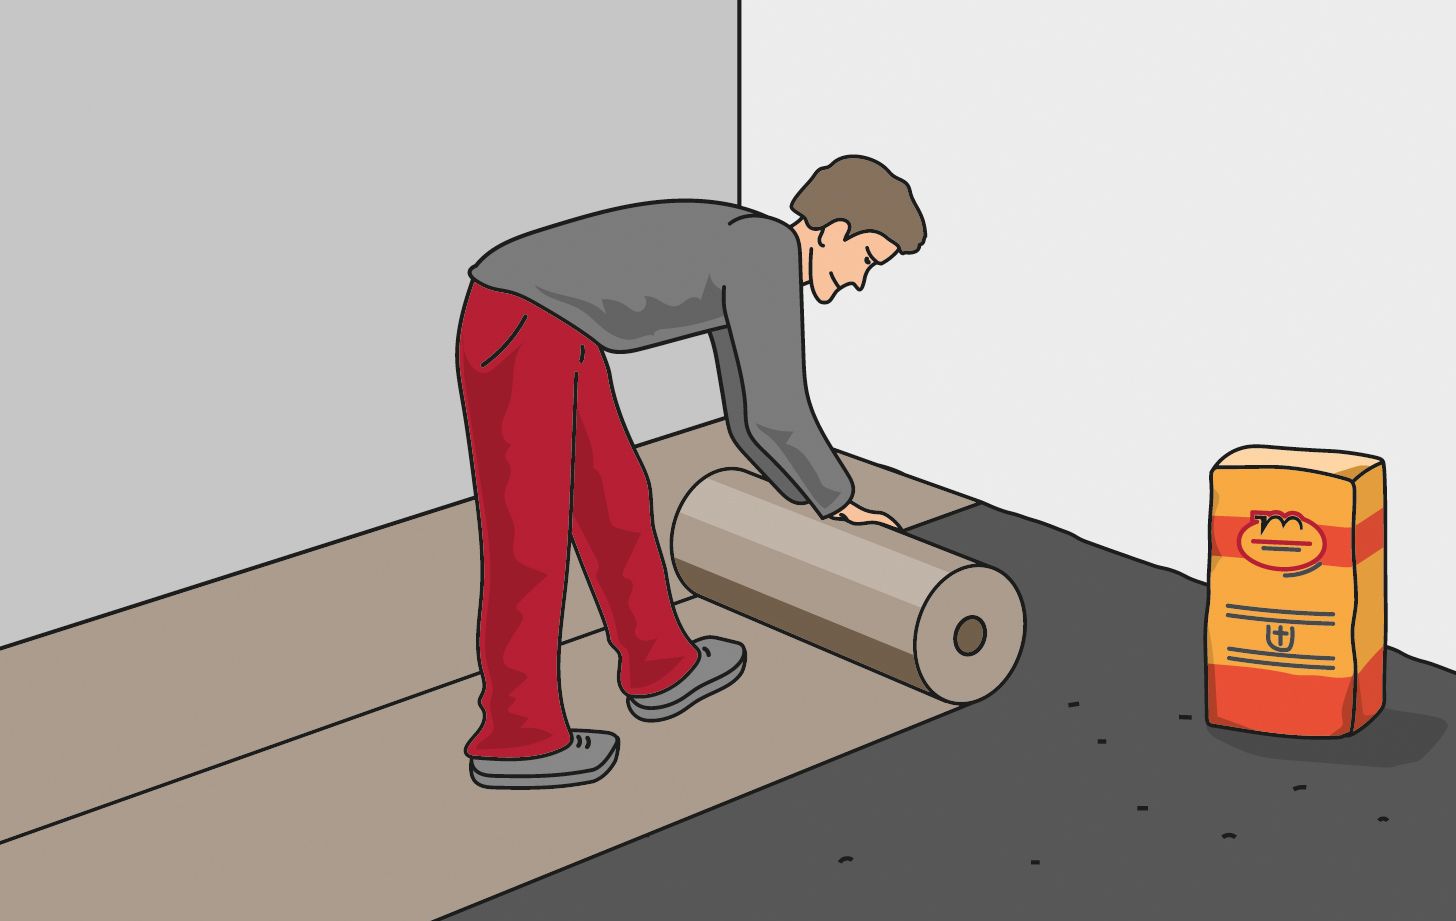
Step 5
Cover the MEHABIT layer with MEHARIPP (up to 30 mm),
and larger fill heights with MEHASOL. One of the purposes this serves is
to prevent loose hemp hurds from entering the groove of the particleboards
when the particleboards are laid subsequently. When MEHABIT,
MEHAPOR and MEHASPORT are installed in areas where greater, and in
particular dynamic loads are to be expected, sufficient pressure distribution
must be provided (by means of load distribution plate) to ensure that
the installed fill is compressed evenly.
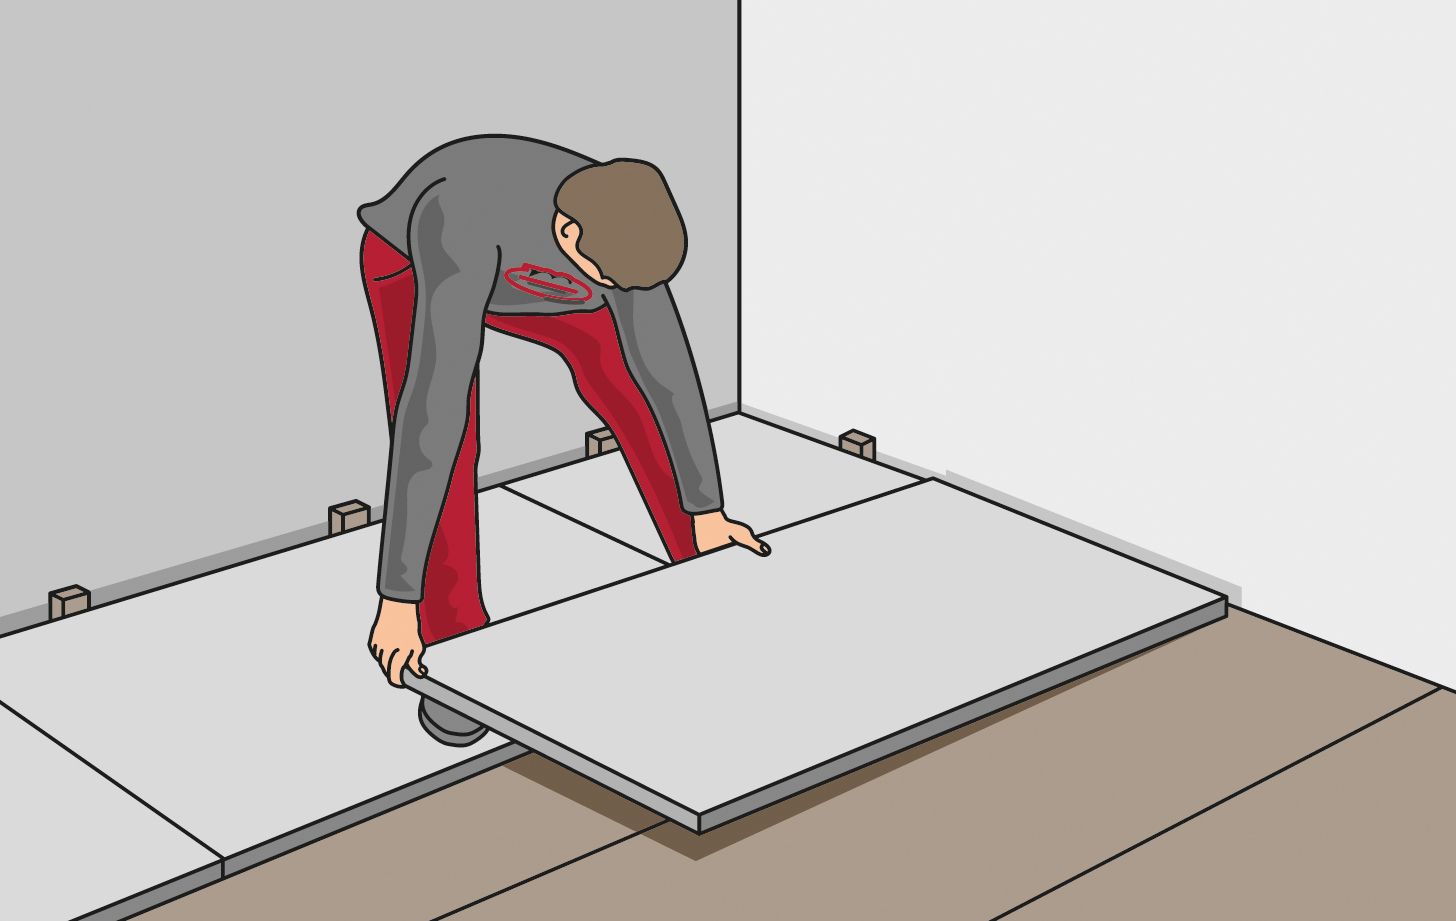
Step 6
You can then immediately start with the floating installation of the base
plates. Keep a distance of approx. 1.5 from the wall on all sides. To do so,
fix wedges to the panels nearest the walls. These wedges must be removed
again once the subfloor is completed.
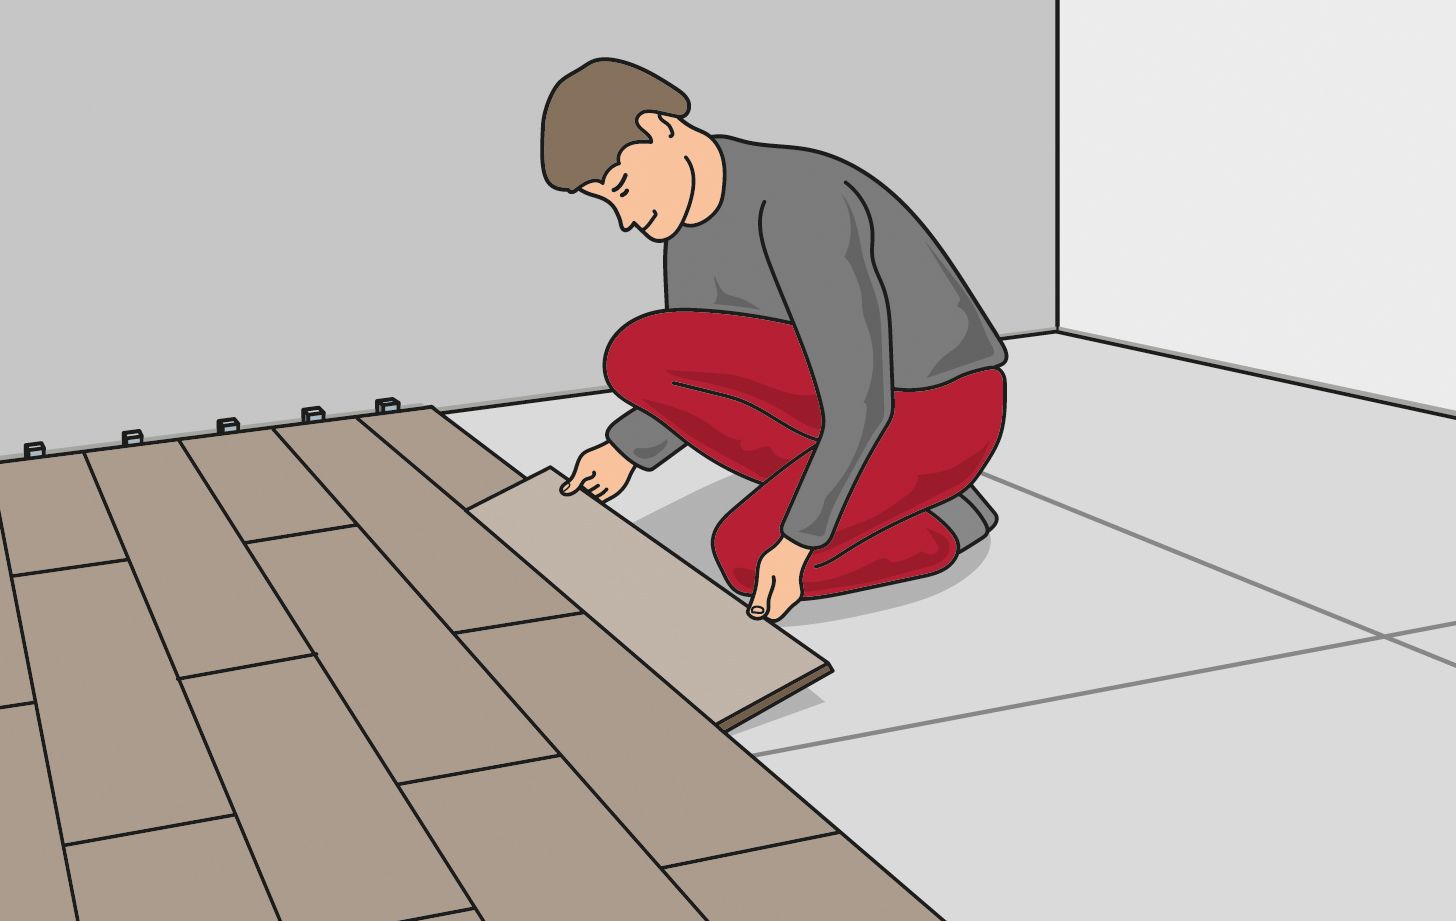
Step 7
You can then immediately lay parquet, plastic flooring or carpets on
these flooring panels. This allows you to create a homely, healthy floor
quickly and cleanly.
